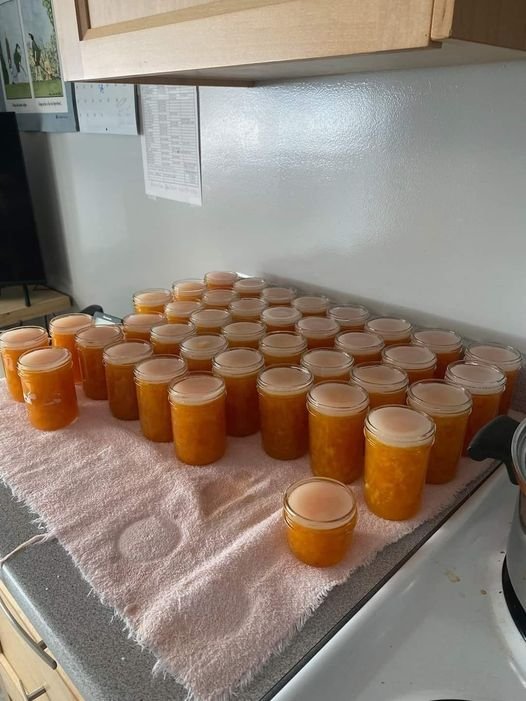
The magic of making nectarine jam lies in the transformation of simple, fresh fruit into a luscious, spreadable delight that captures the essence of summer in every spoonful. As the nectarines cook down with sugar and a splash of lemon juice, they release their natural sweetness and vibrant color, creating a jam that’s both visually stunning and incredibly flavorful. The optional hints of vanilla and cinnamon add a warm, aromatic depth, making each bite a delightful balance of fruity brightness and subtle spice. This homemade nectarine jam is perfect for spreading on toast, dolloping on yogurt, or gifting to friends and family, bringing a taste of the orchard into your kitchen year-round.
Ingredients:
- 4 cups chopped nectarines (about 5-6 medium nectarines)
- 2 cups granulated sugar
- 2 tablespoons fresh lemon juice
- 1 teaspoon vanilla extract (optional)
- 1/2 teaspoon ground cinnamon (optional)
Equipment:
- Large pot
- Wooden spoon
- Sterilized jars with lids
- Canning funnel
- Ladle
- Water bath canner
Instructions:
- Prepare the Nectarines: Wash the nectarines thoroughly. Cut them in half, remove the pits, and chop them into small pieces. You can leave the skin on for added texture and color in the jam.
- Combine Ingredients: In a large pot, combine the chopped nectarines, granulated sugar, and fresh lemon juice. If you’re using vanilla extract or ground cinnamon, add them to the mixture now.
- Cook the Jam: Place the pot over medium-high heat and bring the mixture to a boil, stirring frequently to prevent sticking. Once it reaches a boil, reduce the heat to medium and let it simmer. Continue to stir occasionally.
- Check for Doneness: As the nectarines cook, they will release their juices, and the mixture will thicken. This process usually takes about 20-30 minutes. To check if the jam is ready, place a small spoonful on a chilled plate and let it cool for a few minutes. If it wrinkles when you push it with your finger, it’s done. If not, continue cooking for a few more minutes and test again.
- Sterilize the Jars: While the jam is cooking, sterilize your jars and lids by boiling them in a water bath canner for 10 minutes. Remove them carefully and let them dry on a clean towel.
- Fill the Jars: Once the jam has reached the desired consistency, remove it from the heat. Using a canning funnel and ladle, fill the sterilized jars with the hot jam, leaving about 1/4 inch of headspace at the top. Wipe the rims of the jars with a clean, damp cloth to remove any residue.
- Seal the Jars: Place the lids on the jars and screw on the bands until they are fingertip tight. Be careful not to over-tighten.
- Process the Jars: Place the filled jars in the water bath canner, ensuring they are fully submerged in water. Bring the water to a boil and process the jars for 10 minutes (adjusting for altitude if necessary). After processing, carefully remove the jars and let them cool on a towel or cooling rack.
- Check the Seals: Once the jars have cooled completely, check the seals by pressing down on the center of each lid. If it doesn’t pop back, the jar is sealed. If it does, refrigerate the jar and use the jam within a few weeks.
- Store and Enjoy: Label your jars with the date and store them in a cool, dark place. Properly sealed jars can be stored for up to a year. Once opened, refrigerate and use within a few weeks.
